Why Your Hiking Boots Feel a Size Smaller by Mile Four
Quick Answer: Feet swell measurably during sustained walking as blood volume increases in the lower limb and fluid accumulates in tissue, and the effect is larger on longer hikes, in heat, and under greater load. That is why boots fitted at rest feel tight after a few miles. Size for the swollen foot: fit in the afternoon, allow a thumb-width in front of the toes, and use a two-zone lacing system you can adjust on trail.
The boots fit perfectly in the store. Four miles in, your toes are jammed against the front on every descent. Nothing was wrong with the fitting. It measured a foot that no longer exists at mile four.

How much do feet actually swell on a hike?
Enough to change your effective shoe size, and the mechanism is straightforward.
Sustained walking increases blood flow to the working muscles of the lower leg and foot. At the same time, gravity and prolonged upright posture encourage fluid to accumulate in tissue below the heart. Heat amplifies both by causing peripheral vasodilation.
The practical consequence is a foot that is longer, wider, and taller through the instep than it was at the trailhead. Many hikers find they need a half size or more of extra room compared with a rested fitting.
Load matters too. Carrying a pack increases the compressive force through the foot, which spreads the forefoot slightly with every step and increases the width requirement. This applies to total load, meaning body weight plus pack, which is why heavier hikers and hikers with heavy packs both need more room than the fitting-room measurement suggests.
None of this is a defect in your feet. It is normal physiology that boot fitting conventions largely ignore.
How should you fit boots to account for it?
Four rules, and the first one costs nothing.
Fit in the late afternoon or after a walk. Your feet are already partially swollen and you are measuring something much closer to trail conditions than a morning fitting gives you.
Allow a full thumb-width in front of the longest toe with the boot laced and your foot slid forward. This feels excessive standing still and is correct once you are descending.
Fit with the socks you will actually hike in. A thick merino sock versus a thin liner is easily a half size of difference, and testing with dress socks is close to useless.
Check width across the ball, not just length. Buying a longer boot to get more width is the single most common fitting error, and it produces a boot that slips at the heel and lets the foot slide forward on descent, which is exactly what causes black toenails.
If you are between sizes, take the larger one and manage the fit with lacing and a thicker sock. You can add volume to a boot that is slightly large. You cannot remove material from one that is small.
What Nobody Tells You About Trail Lacing
You should be re-lacing at least twice per hike. Loosen for the climb, tighten for the descent. Almost nobody does this and almost everybody would benefit.
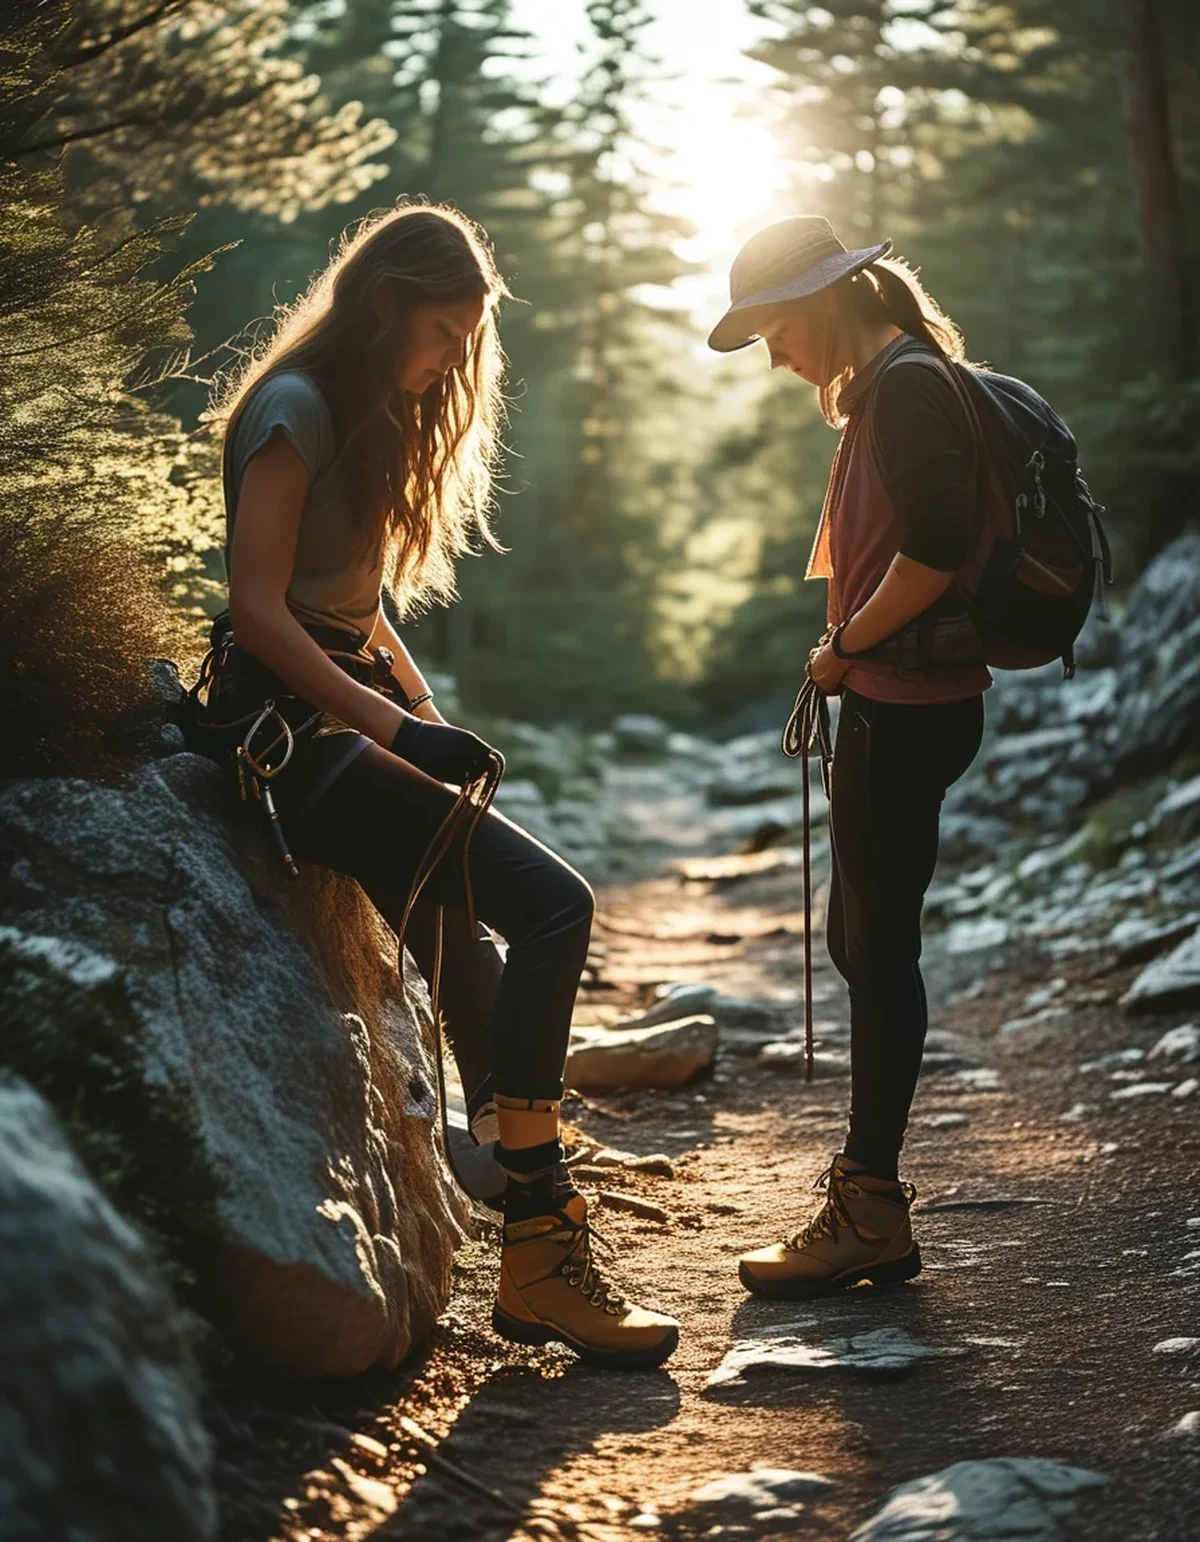
Two-zone lacing is the real skill. Modern hiking boots have a hook or eyelet at the ankle flex point that lets you lace the forefoot and the ankle at different tensions. Loose forefoot and tight ankle is the descent setting: it gives swollen toes room while locking the heel back so the foot cannot slide forward.
A heel lock knot solves most toe-bang problems. Running the lace through the top two hooks in a surgeon’s knot creates enough friction to hold the heel down. It takes ten seconds and it is the difference between arriving with intact toenails and not.
Tight lacing on a climb causes shin pain. The front of the ankle flexes deeply on uphill sections, and a tight top lace presses the tongue into the tendons there. Loosening the top two hooks for a sustained climb is standard practice, not a compromise.
The one that surprises people: the foot that hurts is often not the foot with the problem. Compensating for a hot spot on one side changes your gait and produces symptoms on the other, so fix the first hot spot immediately rather than walking on it. A five-minute stop at mile two saves the second half of the hike.
Why is the descent so much worse?
Because descending combines maximum forward force with maximum swelling, at the point in the hike when you are most tired.
On a descent, each step decelerates your entire body weight plus pack, and that force drives the foot forward into the toe box. The steeper the grade, the more of the force vector points forward rather than down.
This is why the descent, not the climb, produces black toenails, blisters at the toe tips, and the sensation that the boots shrank. It is also why descent problems are almost always fit and lacing problems rather than fitness problems.
Trekking poles genuinely help here, and the mechanism is direct: poles absorb a portion of the deceleration force through your arms, which reduces the force driving your foot into the front of the boot. On a long descent that is a substantial cumulative reduction.
The practical descent protocol: stop at the top, re-lace with a loose forefoot and locked heel, shorten your stride, and use poles set slightly longer than your climbing length. Those four things together eliminate most descent foot pain.
What else reduces swelling on trail?
Several things, in rough order of impact.
Elevate during breaks. Even five minutes with feet above hip level moves a meaningful amount of fluid. Lying back against your pack with feet on a rock is not laziness, it is maintenance.
Manage sodium and fluid together. Drinking plain water in quantity while sweating heavily can worsen tissue fluid balance. An electrolyte mix on longer hot hikes helps more than water alone.
Loosen laces at every break and re-tighten before moving. Compression during rest slows the fluid movement you are trying to encourage.
Consider a compression sock rather than a thicker one. Graduated compression reduces pooling in the calf and, for many hikers, reduces the downstream foot swelling. This is one of the more underused items in hiking.
Carry a spare pair of socks and change at the halfway point. Dry socks reduce friction substantially and the two-minute stop is worth it on anything over six miles.
This is general information, not medical advice. Swelling that persists for days after a hike, is significantly asymmetric, or comes with pain in one calf should be evaluated promptly rather than attributed to the hike.
FAQ: Hiking Boot Fit Questions, Answered
Should I just buy a size up?
Only if you also fix the heel hold. A boot that is longer without being wider still lets the foot slide, and heel slip causes its own blisters. Go up in size when the toe box is the constraint, go up in width when the ball of the foot is, and check both separately.
Do trail runners solve this?
They change it rather than solve it. Trail runners have more flexible uppers that accommodate swelling better, but less structure to control the foot on descent. Many hikers size trail runners a full size up for exactly this reason.
How long should break-in actually take?
For modern boots with synthetic uppers, a few short walks. For full leather, considerably longer, and heavier hikers often need more time because the flex points take more force to form. Break in on short local walks, never on the first long hike.
TL;DR:
- Feet lengthen, widen, and rise at the instep during a hike; the trailhead fit is not the trail fit
- Fit in the afternoon with your real socks, allow a thumb-width, and check width separately from length
- Loosen the forefoot and lock the heel for descents; loosen the top hooks for climbs
- Elevate at breaks, change socks at halfway, and use poles to reduce forward force on descent
Re-lace at the top of the descent. It is free, it takes ten seconds, and it prevents most of what people blame on the boots.
Keep Reading
This article is for general informational and styling purposes only. Fit, sizing, and product availability may vary.