Why Downhill Hits Harder Than Uphill for Plus-Size Hikers
Quick Answer: Going downhill loads your quads eccentrically with forces that can reach several times body weight per step, concentrated at the knee. Uphill is harder cardiovascularly; downhill is harder structurally, and it scales with load more steeply. Trekking poles, shorter steps, and a slower descent are the three highest-value adjustments.
You made it to the top feeling reasonably good. Two miles into the descent your quads are shaking, your knees are complaining, and you are moving slower than you did going up. This is not a fitness ordering problem. Uphill and downhill are genuinely different physical tasks, and only one of them scales badly with load.
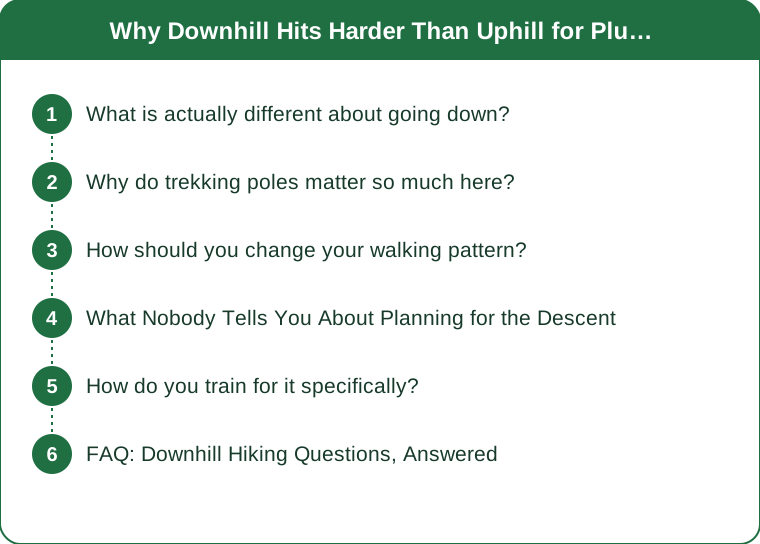
What is actually different about going down?
The muscle action reverses.
Going uphill, your quads shorten under load — a concentric contraction. It is metabolically expensive, which is why you breathe hard, but it is structurally gentle.
Going downhill, your quads lengthen under load — an eccentric contraction — braking your body weight against gravity on every single step. Eccentric work uses less oxygen, so it does not feel hard cardiovascularly. But it produces far more muscle damage and generates much higher joint forces.
Estimates of peak knee joint force during downhill walking commonly run several times body weight, compared to roughly two to three times on level ground. That multiplier applies to whatever you weigh, which is why descent is the part of a hike that scales most steeply with body weight and pack weight.
This is also why downhill produces most of the next-day soreness. Eccentric loading is the most reliable way to generate delayed-onset muscle soreness there is.
Why do trekking poles matter so much here?
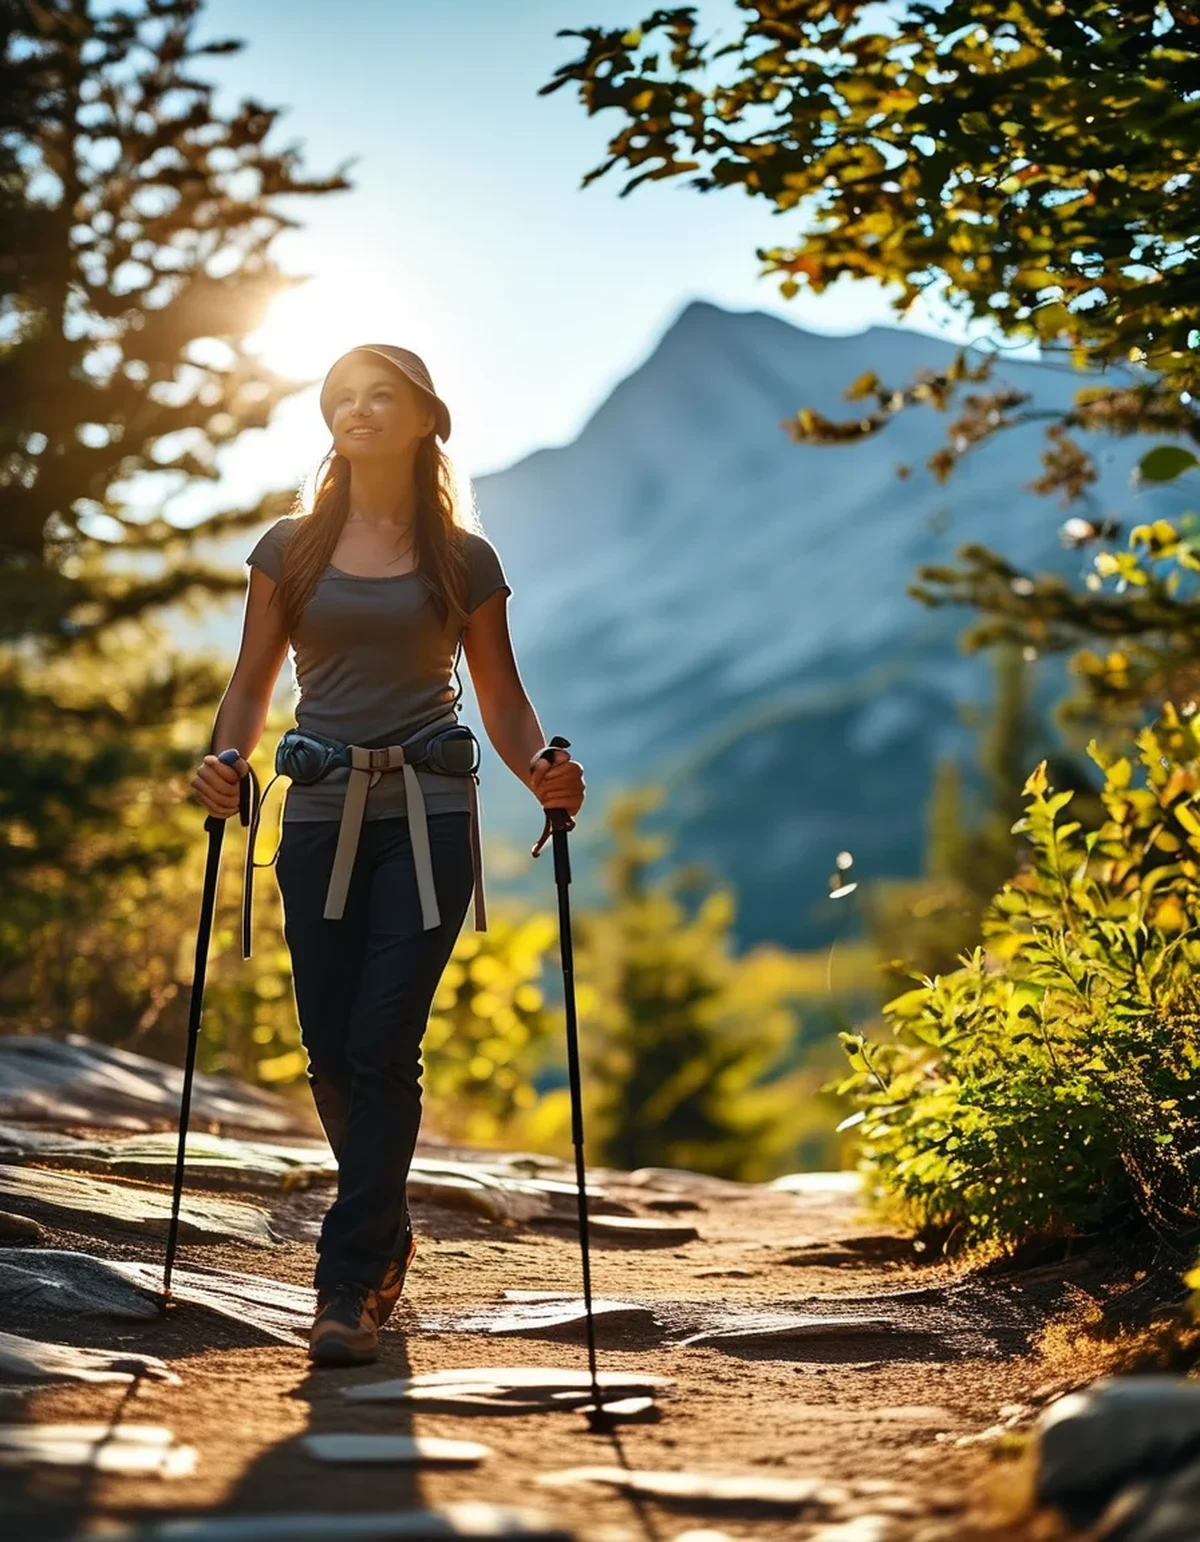
They are the single highest-return piece of gear for descent, and the numbers are meaningful.
Research on trekking pole use during downhill walking has found reductions in knee joint force and in lower limb loading, along with lower reported soreness and faster strength recovery in the days after. Poles transfer a portion of each step’s braking force into your arms and into the ground ahead of you.
They also do something that does not show up in force measurements: they add two points of contact, which dramatically improves stability on loose or uneven ground and reduces the frequency of the sudden correction steps that cause most trail injuries.
Use them properly:
- Lengthen them for descent, typically 5 to 10 cm longer than your uphill setting, so you are not hunching forward
- Plant them ahead of your foot, not beside it, so they are braking rather than just balancing
- Use both, in an alternating rhythm with your steps
If you buy one thing before your next hike with real elevation, buy poles.
How should you change your walking pattern?
Four adjustments, in order of impact.
Shorten your steps. A long downhill stride lands with a straighter knee and a higher impact force. Shorter steps with a softer knee bend let the muscles absorb the load instead of the joint. This is the biggest free improvement available.
Land midfoot rather than heel-first. Heel striking downhill sends force straight up the leg. A flatter landing distributes it.
Keep your knees soft throughout. A locked knee at contact transmits load to the joint rather than the muscle. Think of descending as a series of small controlled squats.
Zigzag on steep sections. Traversing across the slope rather than going straight down reduces the gradient you are actually descending, and it costs very little extra distance.
One more: slow down deliberately. Descent speed correlates directly with impact force. Going down 20% slower reduces loading substantially and costs perhaps ten minutes on a typical hike.

What Nobody Tells You About Planning for the Descent
Trail planning advice is written almost entirely around the ascent, which leaves out some useful things.
Mileage estimates assume descent is fast. Standard hiking time formulas add time for elevation gain and assume you make it back up on the way down. For anyone descending carefully, the return leg can take as long as the climb, and planning otherwise is how people end up finishing in the dark.
Boot fit fails on the descent, not the climb. Feet swell over a hike, and descending pushes them forward into the toe box. Toenail damage and blisters are overwhelmingly descent injuries. Lace tightly over the instep before you start down — a heel-lock lacing pattern is worth learning.
Out-and-back beats loops when you are building up. You can turn around at any point. On a loop, you are committed once you are past halfway.
Descend the harder side first if you have a choice. Where a trail offers two routes, taking the steeper one up and the gentler one down is easier on the body than the reverse, even though it feels harder to plan.
How do you train for it specifically?
Eccentric strength is trainable, and it responds quickly.
- Step-downs. Stand on a step, lower one foot slowly to the floor over three seconds, step back up with the same leg. 2 to 3 sets of 8 per leg, twice a week. This is the most direct transfer exercise there is.
- Slow-tempo squats or leg press. Three seconds down, one second up. The lowering is the part that matters.
- Actual downhill walking. Stairs, a parking structure, or a park hill. Start with 10 minutes and build.
- Single-leg balance work, since descent is a series of single-leg landings on uneven ground.
Give it four to six weeks before a hike with significant descent. The protective effect of eccentric training is well established — even a few sessions produce a repeated bout effect that meaningfully reduces soreness afterward.
If you have existing knee pain, particularly pain going down stairs, get it assessed before adding downhill volume. This is general information, not medical advice.
FAQ: Downhill Hiking Questions, Answered
Are knee braces or sleeves worth it?
Compression sleeves may improve proprioception and comfort for some people; they do not meaningfully reduce joint force. Poles do far more. If you have a diagnosed knee condition, follow the guidance you were given.
Should I use one pole or two?
Two. A single pole helps balance but does not share load symmetrically, and asymmetric loading over several miles creates its own problems.
How do I stop my toes from hurting?
Tighten the laces over the instep before descending to stop the foot sliding forward, make sure your boots have about a thumb’s width of room at the toe, and keep toenails trimmed short. Most descent toe pain is a lacing problem rather than a sizing problem.
TL;DR:
- Downhill is eccentric work, generating several times body weight in joint force per step
- Uphill is harder for your lungs; downhill is harder for your knees and quads, and it scales with load
- Trekking poles lengthened for descent are the single highest-value adjustment
- Shorten your steps, keep knees soft, zigzag steep sections, slow down, and train step-downs for four to six weeks
If hikes have been leaving you wrecked for two days afterward, the descent is almost certainly why — and it is the half of the hike that gets the least attention and responds the fastest to a few changes. Poles and shorter steps alone will change your next hike more than any amount of extra cardio would.
Keep Reading
This article is for general informational and styling purposes only. Fit, sizing, and product availability may vary.